
# Acurite Weather Station Mounting Guide
Mounting your Acurite weather station correctly is crucial for accurate weather readings. Whether you’re a weather enthusiast or just want to keep an eye on local conditions, proper installation ensures reliable data. This guide will walk you through the steps to mount your Acurite weather station effectively.
## Choosing the Right Location
Before mounting your Acurite weather station, it’s essential to select an optimal location. The placement of your weather station can significantly impact the accuracy of the data it collects.
### Key Considerations:
– **Open Space:** Ensure the area is free from obstructions like trees, buildings, or other structures that could block wind or sunlight.
– **Height:** Mount the station at least 5 feet above the ground to avoid ground interference but not so high that it becomes difficult to access for maintenance.
– **Sun Exposure:** For accurate temperature readings, place the station in a shaded area to prevent direct sunlight from affecting the sensors.
– **Wind Flow:** Position the station where it can capture wind from all directions without obstruction.
## Mounting Options
Acurite weather stations come with various mounting options to suit different environments. Here are some common methods:
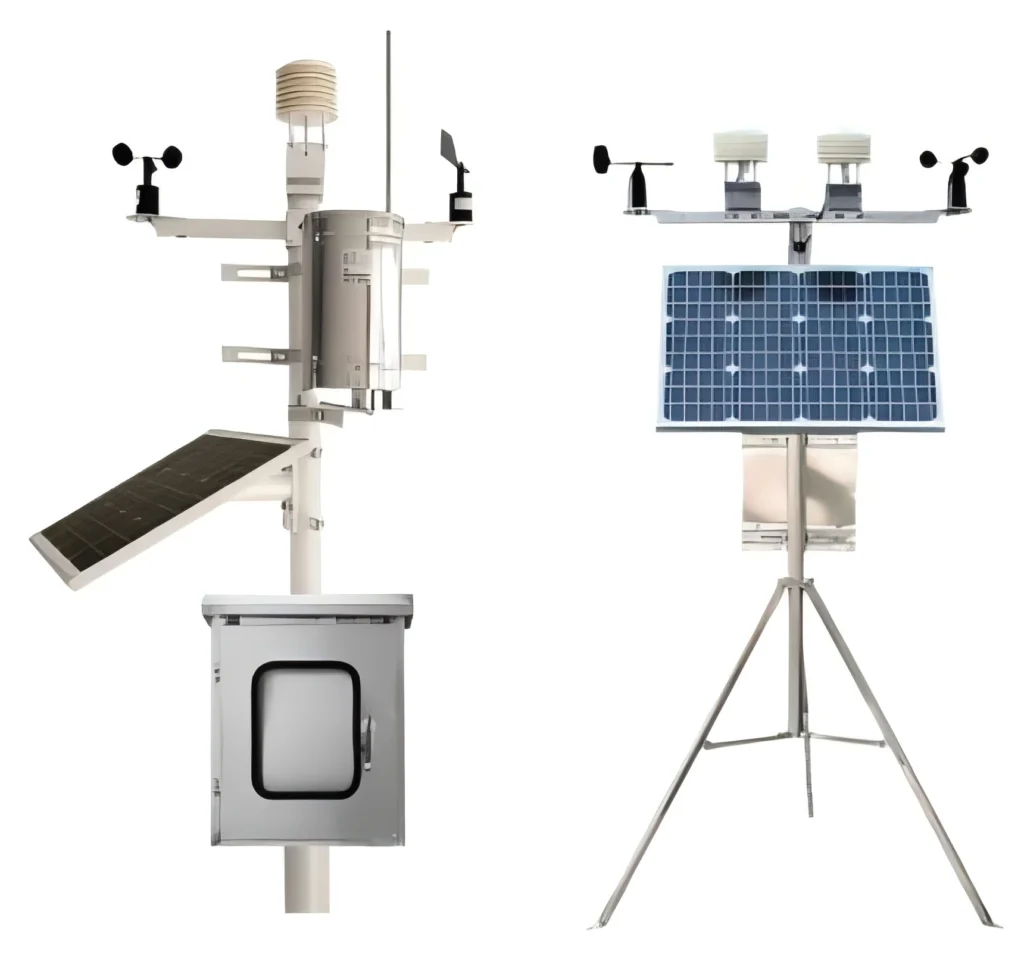
### Pole Mounting
Pole mounting is one of the most popular methods for installing Acurite weather stations. It provides stability and allows for easy adjustment of the station’s height.
#### Steps:
1. **Select a Sturdy Pole:** Choose a pole that can withstand weather conditions and support the weight of the station.
2. **Secure the Pole:** Use a mounting bracket to attach the pole to a stable surface, such as a roof or a dedicated weather station mast.
3. **Attach the Station:** Use the provided screws and brackets to secure the weather station to the pole.
### Wall Mounting
Wall mounting is another effective option, especially if you have limited space or prefer a more discreet installation.
#### Steps:
1. **Choose a Suitable Wall:** Select a wall that is free from obstructions and provides a clear view of the sky.
2. **Mark the Mounting Points:** Use a level to ensure the station will be mounted straight.
3. **Drill Holes:** Drill holes at the marked points and insert wall anchors if necessary.
4. **Secure the Station:** Attach the weather station to the wall using the provided screws and brackets.
### Tripod Mounting
For those who need a portable solution or have uneven terrain, tripod mounting is an excellent choice.
#### Steps:
1. **Set Up the Tripod:** Extend the tripod legs and ensure they are stable on the ground.
2. **Adjust the Height:** Set the tripod to the desired height, keeping in mind the optimal height for accurate readings.
3. **Attach the Station:** Secure the weather station to the tripod using the provided mounting hardware.
## Maintenance Tips
Once your Acurite weather station is mounted, regular maintenance is essential to keep it functioning correctly.
### Regular Checks:
– **Clean the Sensors:** Dust and debris can affect sensor accuracy. Clean the sensors periodically with a soft cloth.
– **Check for Obstructions:** Ensure that no new obstructions, like growing trees or new structures, are blocking the station.
– **Battery Replacement:** Replace the batteries as needed to ensure continuous operation.
### Calibration:
– **Temperature:** Compare your station’s readings with a reliable source and adjust if necessary.
– **Rain Gauge:** Ensure the rain gauge is level and free from debris for accurate precipitation measurements.
## Conclusion
Properly mounting your Acurite weather station is the first step toward obtaining accurate and reliable weather data. By choosing the right location, using the appropriate mounting method, and performing regular maintenance, you can ensure your weather station provides valuable insights for years to come. Follow this guide, and you’ll be well on your way to becoming a weather-savvy homeowner or enthusiast.
Keyword: acurite weather station mounting